This tutorial will walk you through the basic steps needed to recreate spell effects in screenshots. It assumes you have a working knowledge of your graphics program of choice.
I wrote this tutorial using Paint Shop Pro 9, but it can be easily adapted to other programs; the tools I used are very basic.
1. Select and crop your image
Crop out the excess background areas in your chosen image. Make sure that you leave plenty of room around the spell effects, since we'll be doing lots of blurring later!
This is the shot I'll be using:

2. Duplicate your layer
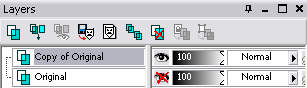
Make a copy of your current layer -- I named mine "Original" -- and then hide it. (We want to keep an unedited version of our image that we can reference throughout the rest of the tutorial.)
My Layers Palette now looks like this, with the "Original" layer hidden and the "Copy of Original" layer active:
3. Cut out your character
Erase the background from around your character just like you would with any other screenshot. Different people prefer different methods, but I typically use the Eraser Tool ("X").
I use a larger brush to work my way around the character first.

Then I use a smaller brush to reach into the nooks and crannies.

My image now looks like this:

4. Pick your colors
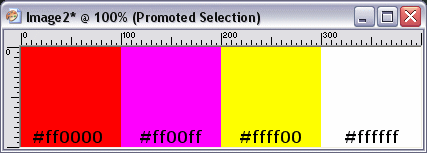
Select colors from your image to use in your repaint using the Dropper Tool ("E"). Intense colors are best; we can always tone the colors down as needed rather than trying to brighten them later.
These are the colors I've selected for this image:
5. Set up your Paint Brush
Press "B" to bring up your Paint Brush tool. These are the typical settings I use for repainting just about every spell effect. These settings will work for probably 90% to 95% of all repainting:

I do occasionally have to make the brush a bit smaller for precision work, but with spell effects being big and blurry most of the time, it doesn't happen very often!
6. Start adding layers
To keep things easy to edit, I make a new layer for each color in my palette (in this case, 4), naming them appropriately so I know which one is which.
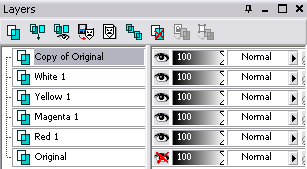
I try to keep them in the order that they appear to be in in my image. You can see that for this particular image, I'm layering the colors under my character cutout. Some images will call for the layers (or just some of them) to go on top of the cutout; it all depends on the image and the type of effect you're repainting.
7. Ready...set...paint!
Here's the fun part! I've made my "Original" layer visible to use it as reference. (I sometimes find it easier to place the "Original" layer on top and show/hide it to check my progress.)
Working with one color at a time and hiding all the other color layers, I use my Paint Brush tool ("B") to liberally repaint the spell effects.
Red:


Magenta:


Yellow:


White:


Paint over areas multiple times to intensify the color, or just use single clicks of your mouse or taps of your tablet stylus to drop smaller dots of color.
The important thing right now is just to get the color onto the canvas. Don't worry about overpainting or harsh edges! We'll fix that stuff later. :)
Once you've done one layer for each of your colors, hide your "Original" layer. My image now looks like this:

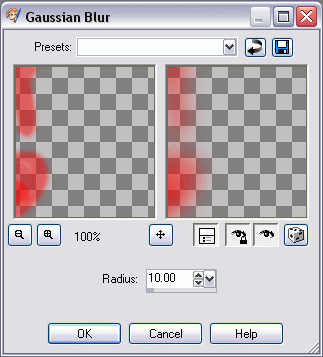
8. Gauss and his blur!
Time to smooth the edges and soften the colors using Gaussian Blur ("Adjust" > "Blur" > "Gaussian Blur").
Each layer will probably need a different setting, so this step is mostly trial and error. I usually start with the bottom color layer (in this case, "Red 1") and decrease the radius of the blur as I go up.
My image now looks like this:

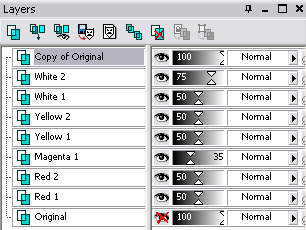
9. Making adjustments
As you can see, after the last step, my image is better, but still not quite right.
This is the time to start making adjustments to your color layers: add additional layers, reduce their transparency, and/or increase their blur amount.
Here's what my Layers Palette and image look like after I've made some subtle changes:

10. All done!
Here's what my final image looks like; I've given it a gradient background to show the transparency of the spell effects that -- hopefully! -- matches with the transparency of the particles in the original screenshot:

Here's the finished product used in a sig graphic: